3d printing : mendelMax
A couple of years ago i decided it was time to get on board the whole 3d printing bandwagon. It appeared to have matured beyond the nasty little threaded rod prusa / mendel designs and hopefully the software had matured similarly.
A bunch of research followed weighing the pros and cons of the equipment on offer, eventually leading me to the mendelMax. A nice compromise between price, printable envelope, structural integrity and a healthy little community to boot. The bill of materials came in under $1000 and was relatively painless to assemble.
below are a few vague shots of the process.
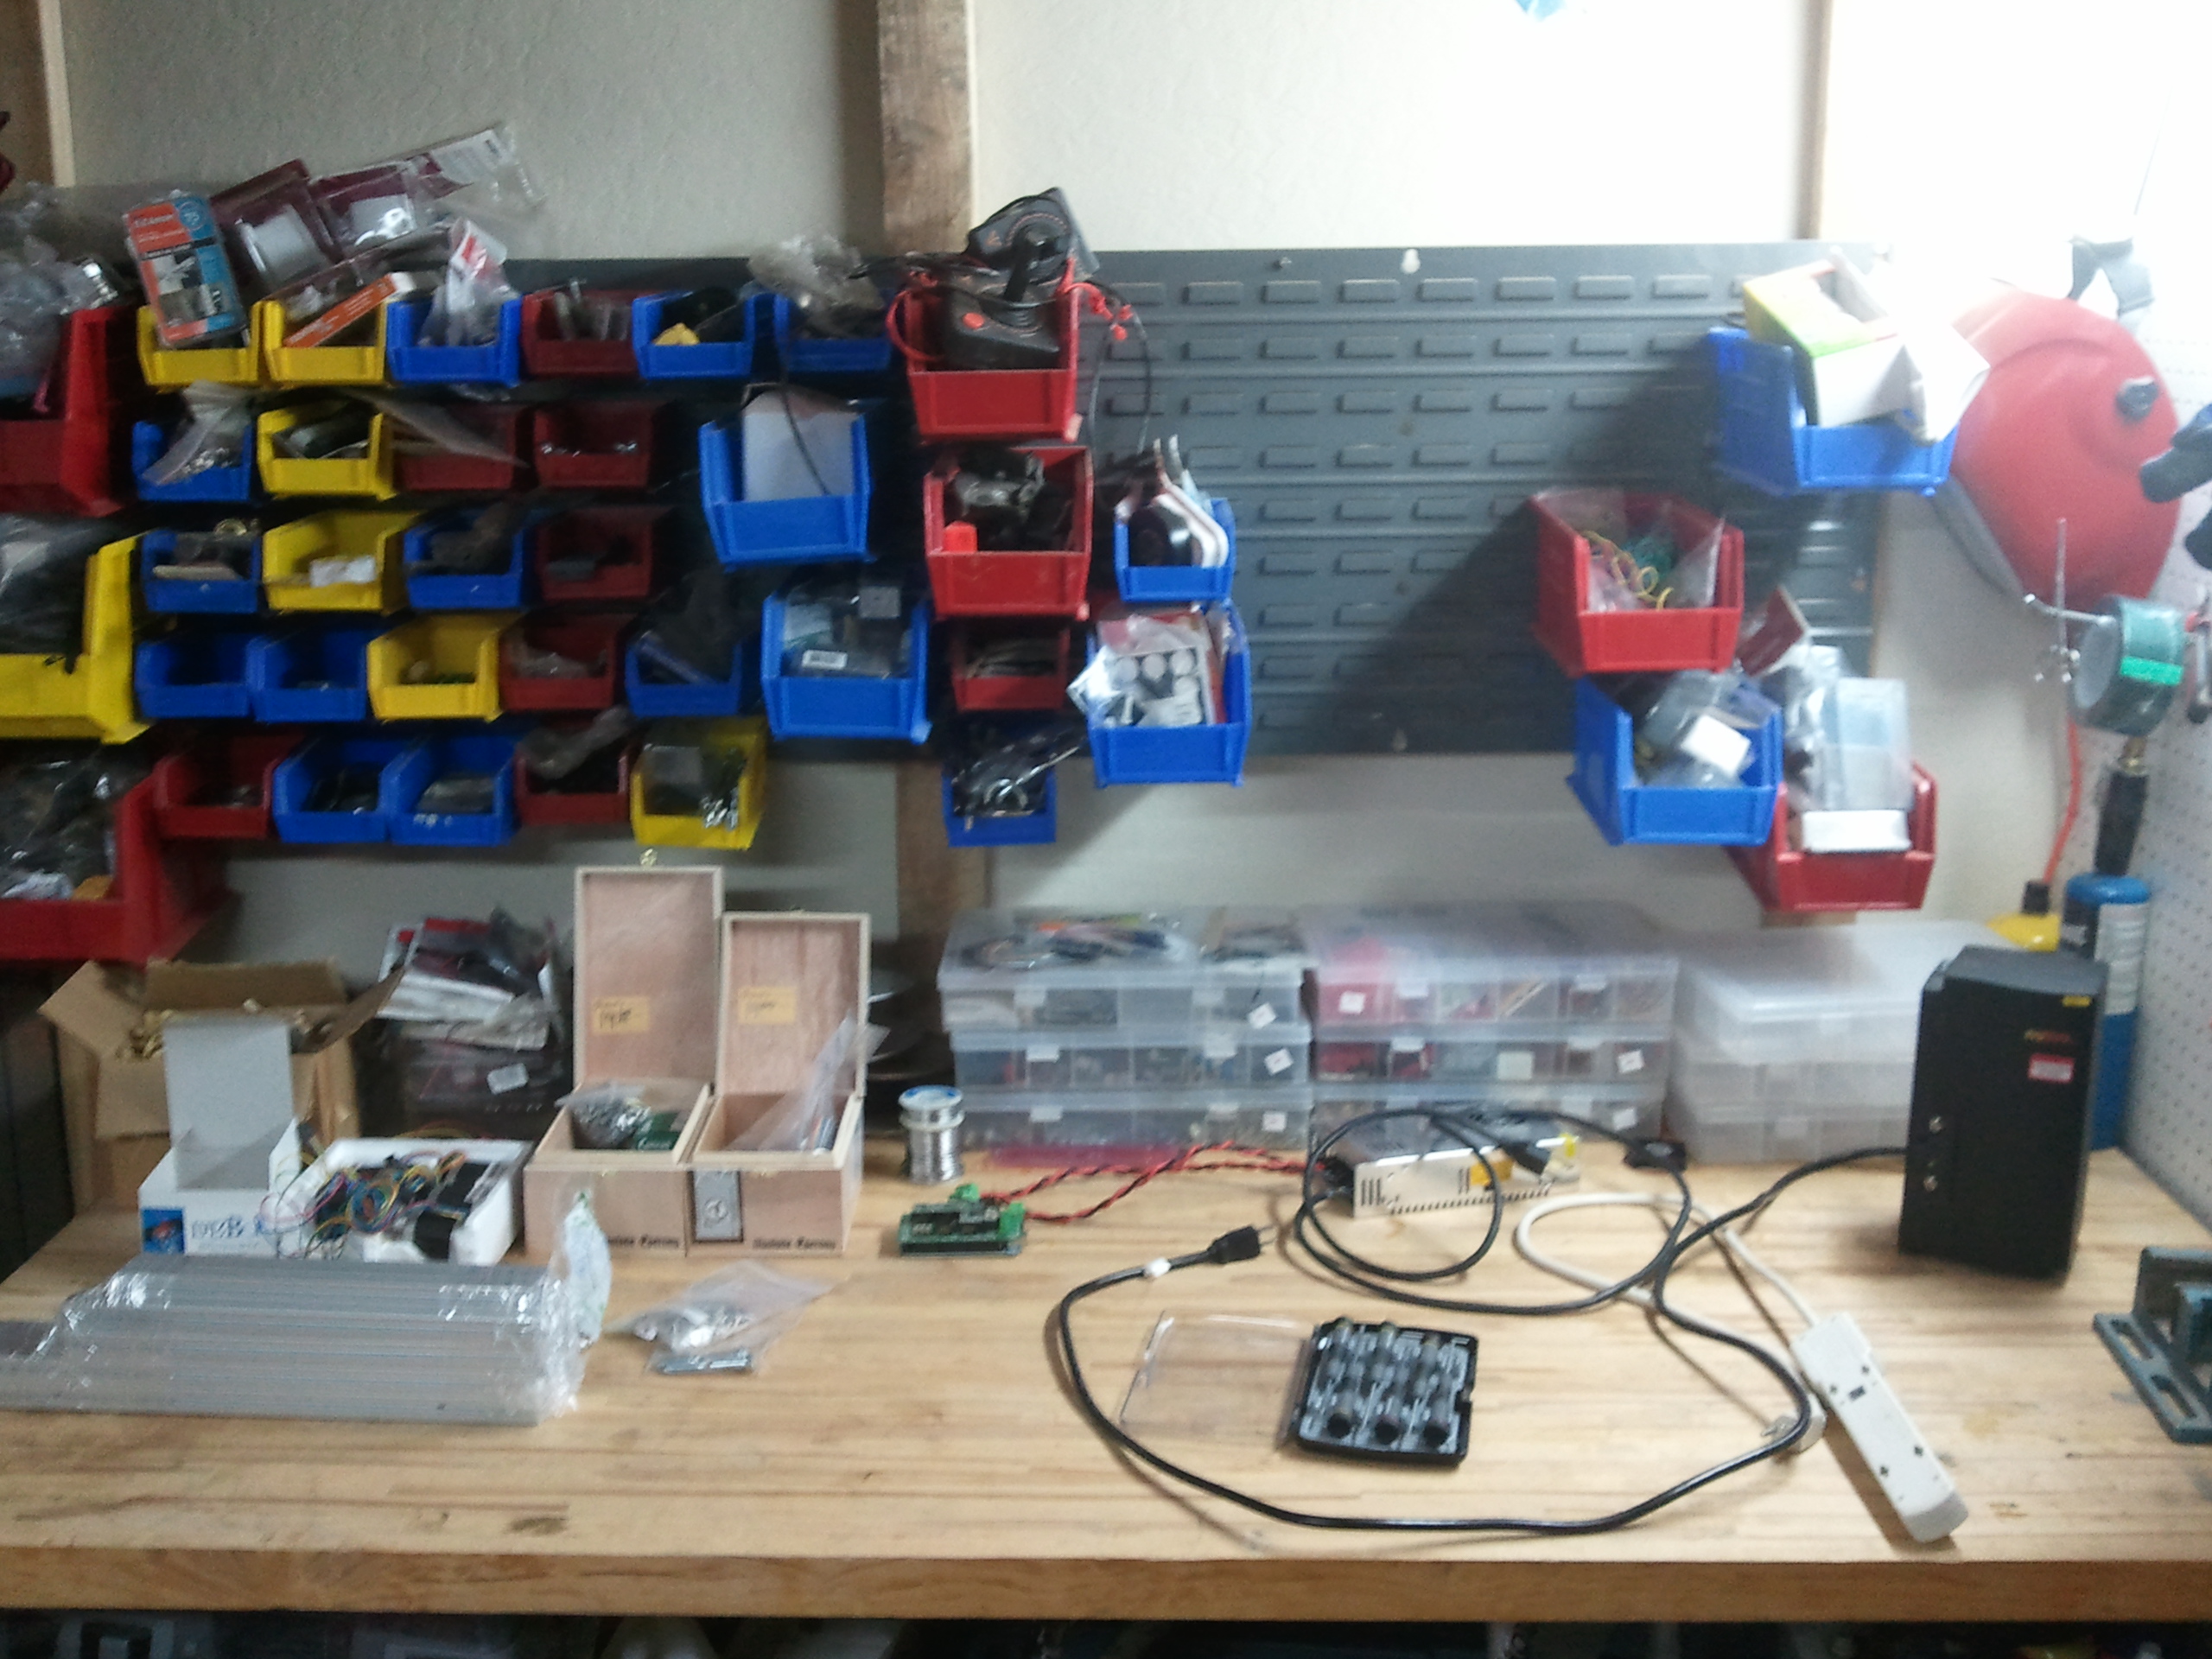
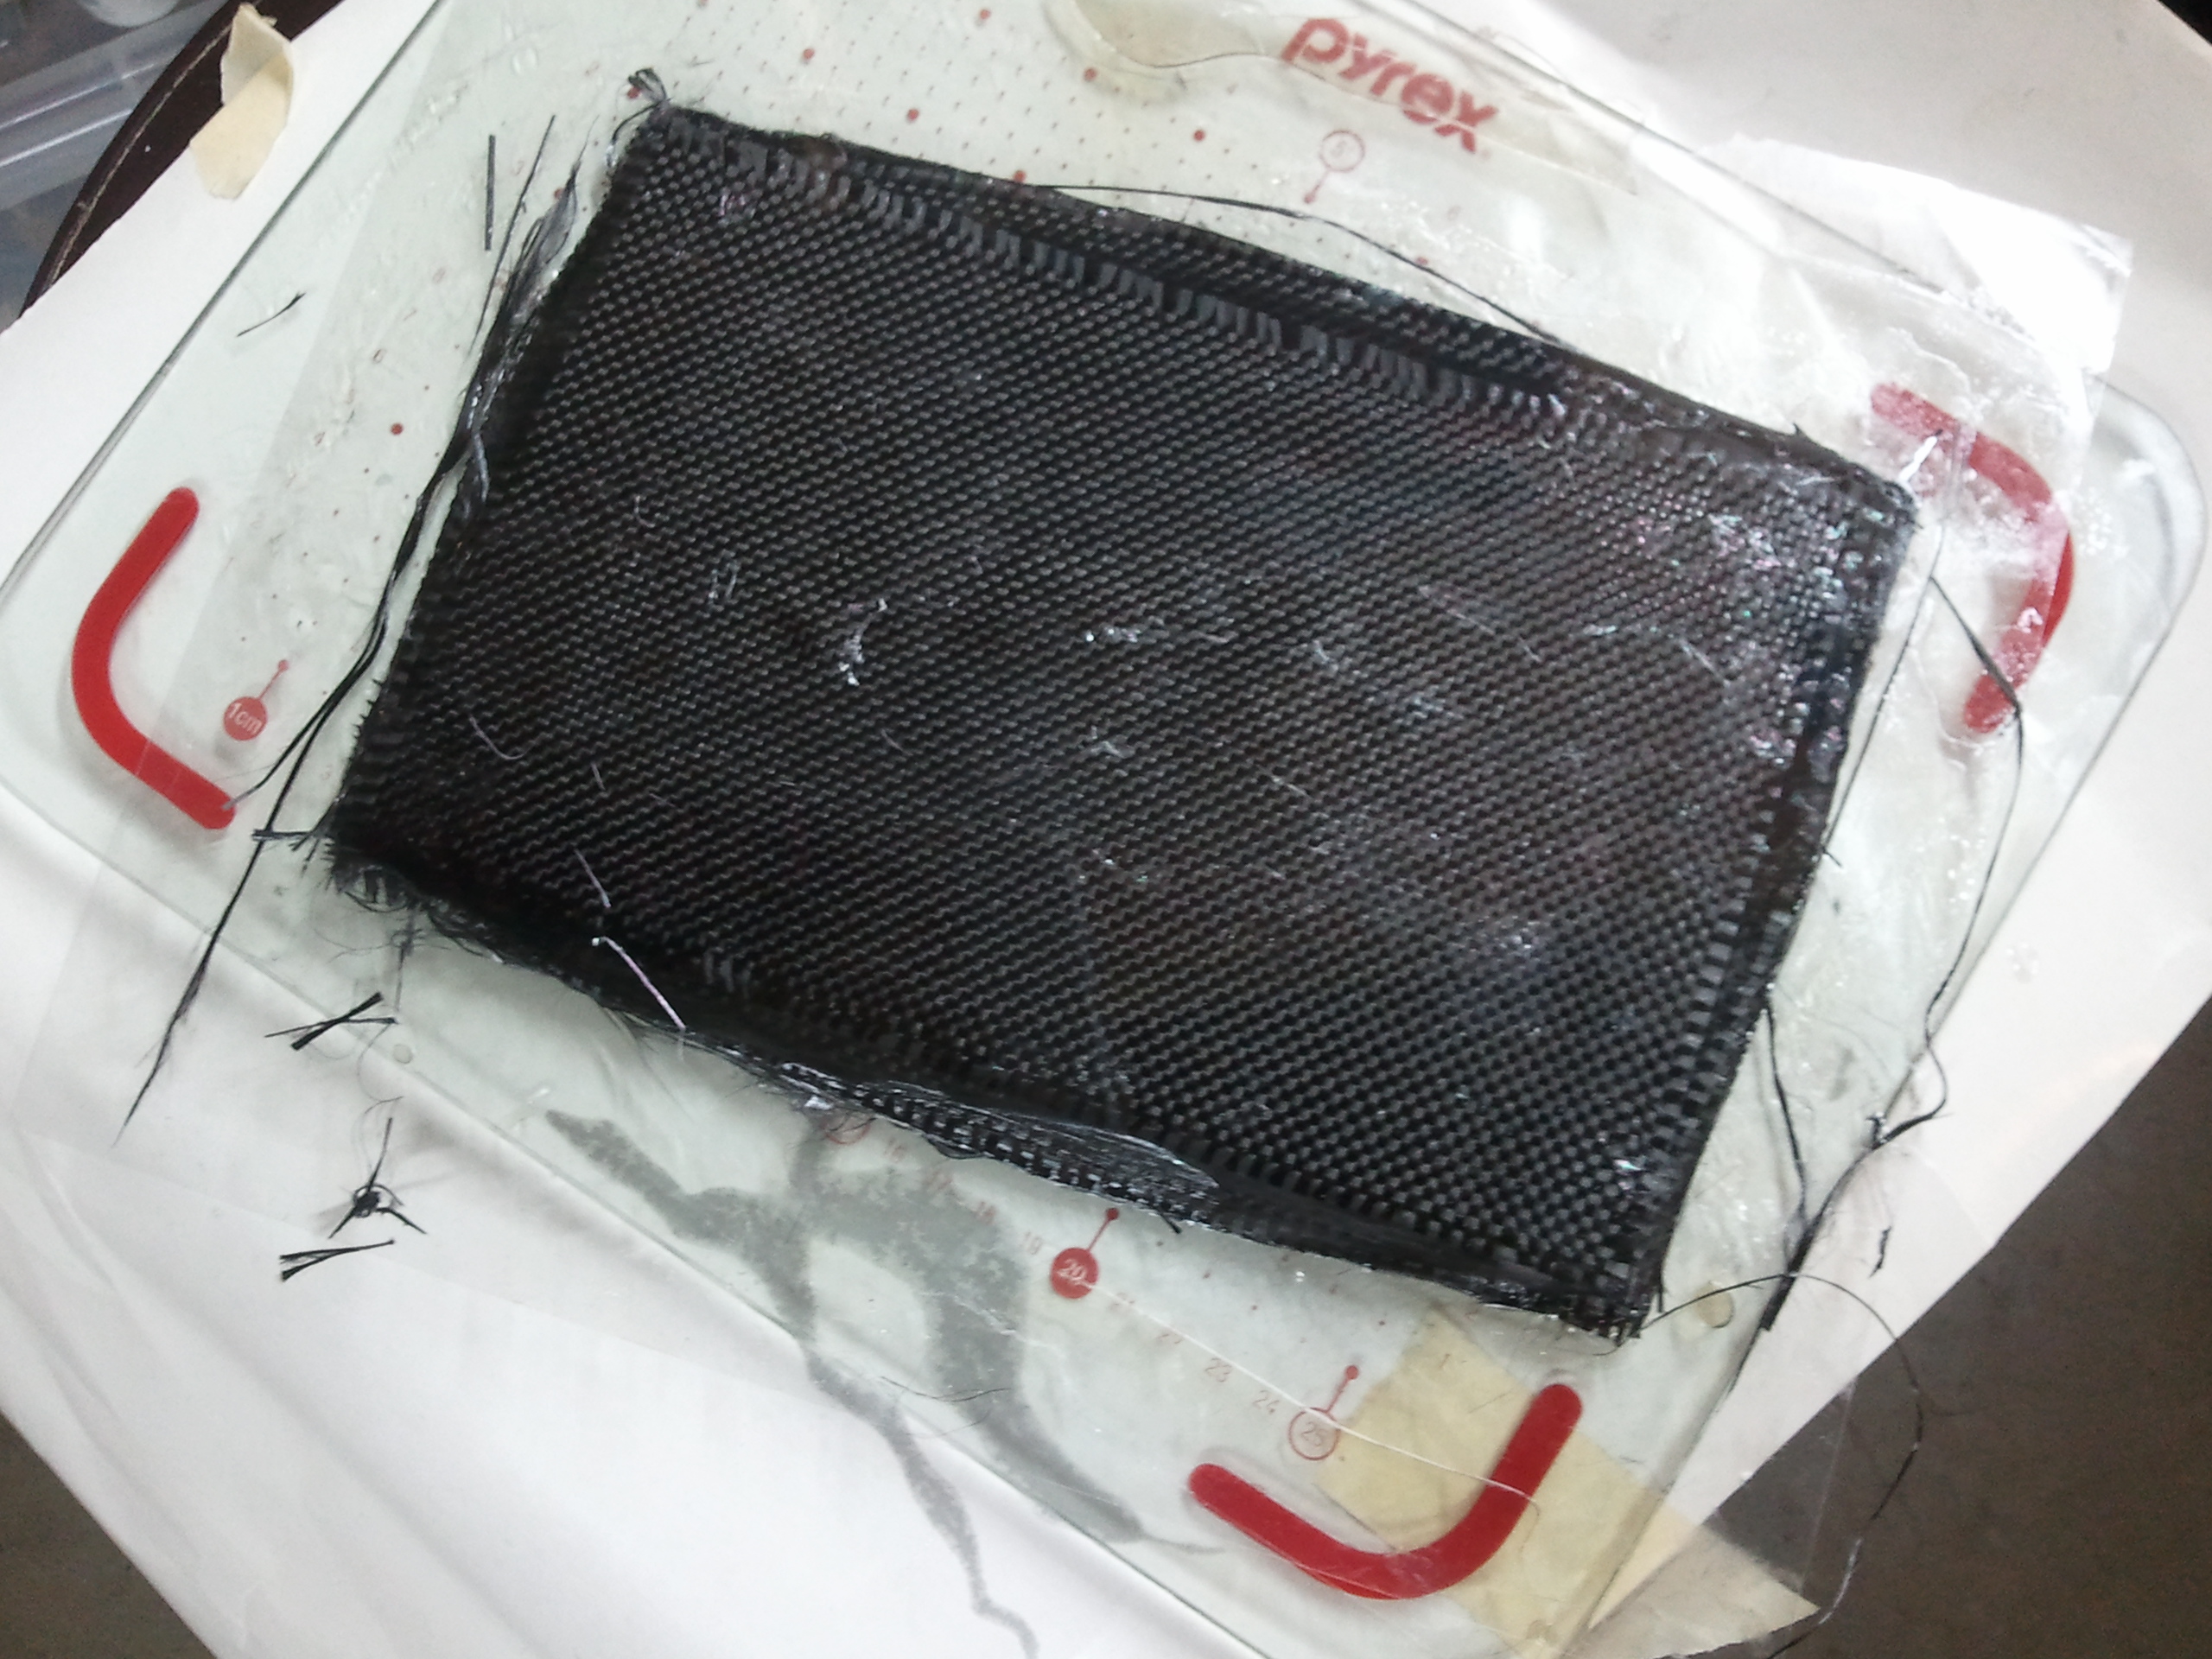
interesting side note, pyrex is nolonger borosilicate, i was considering having a borosilicate glass base, and these cutting boards appeared to be the cheapest way of getting it easily. downside being they are some other compound, when scored ( with the intention of producing a clean cut) they remain intact, then after appliying excessive pressure EXPLODE. sigh
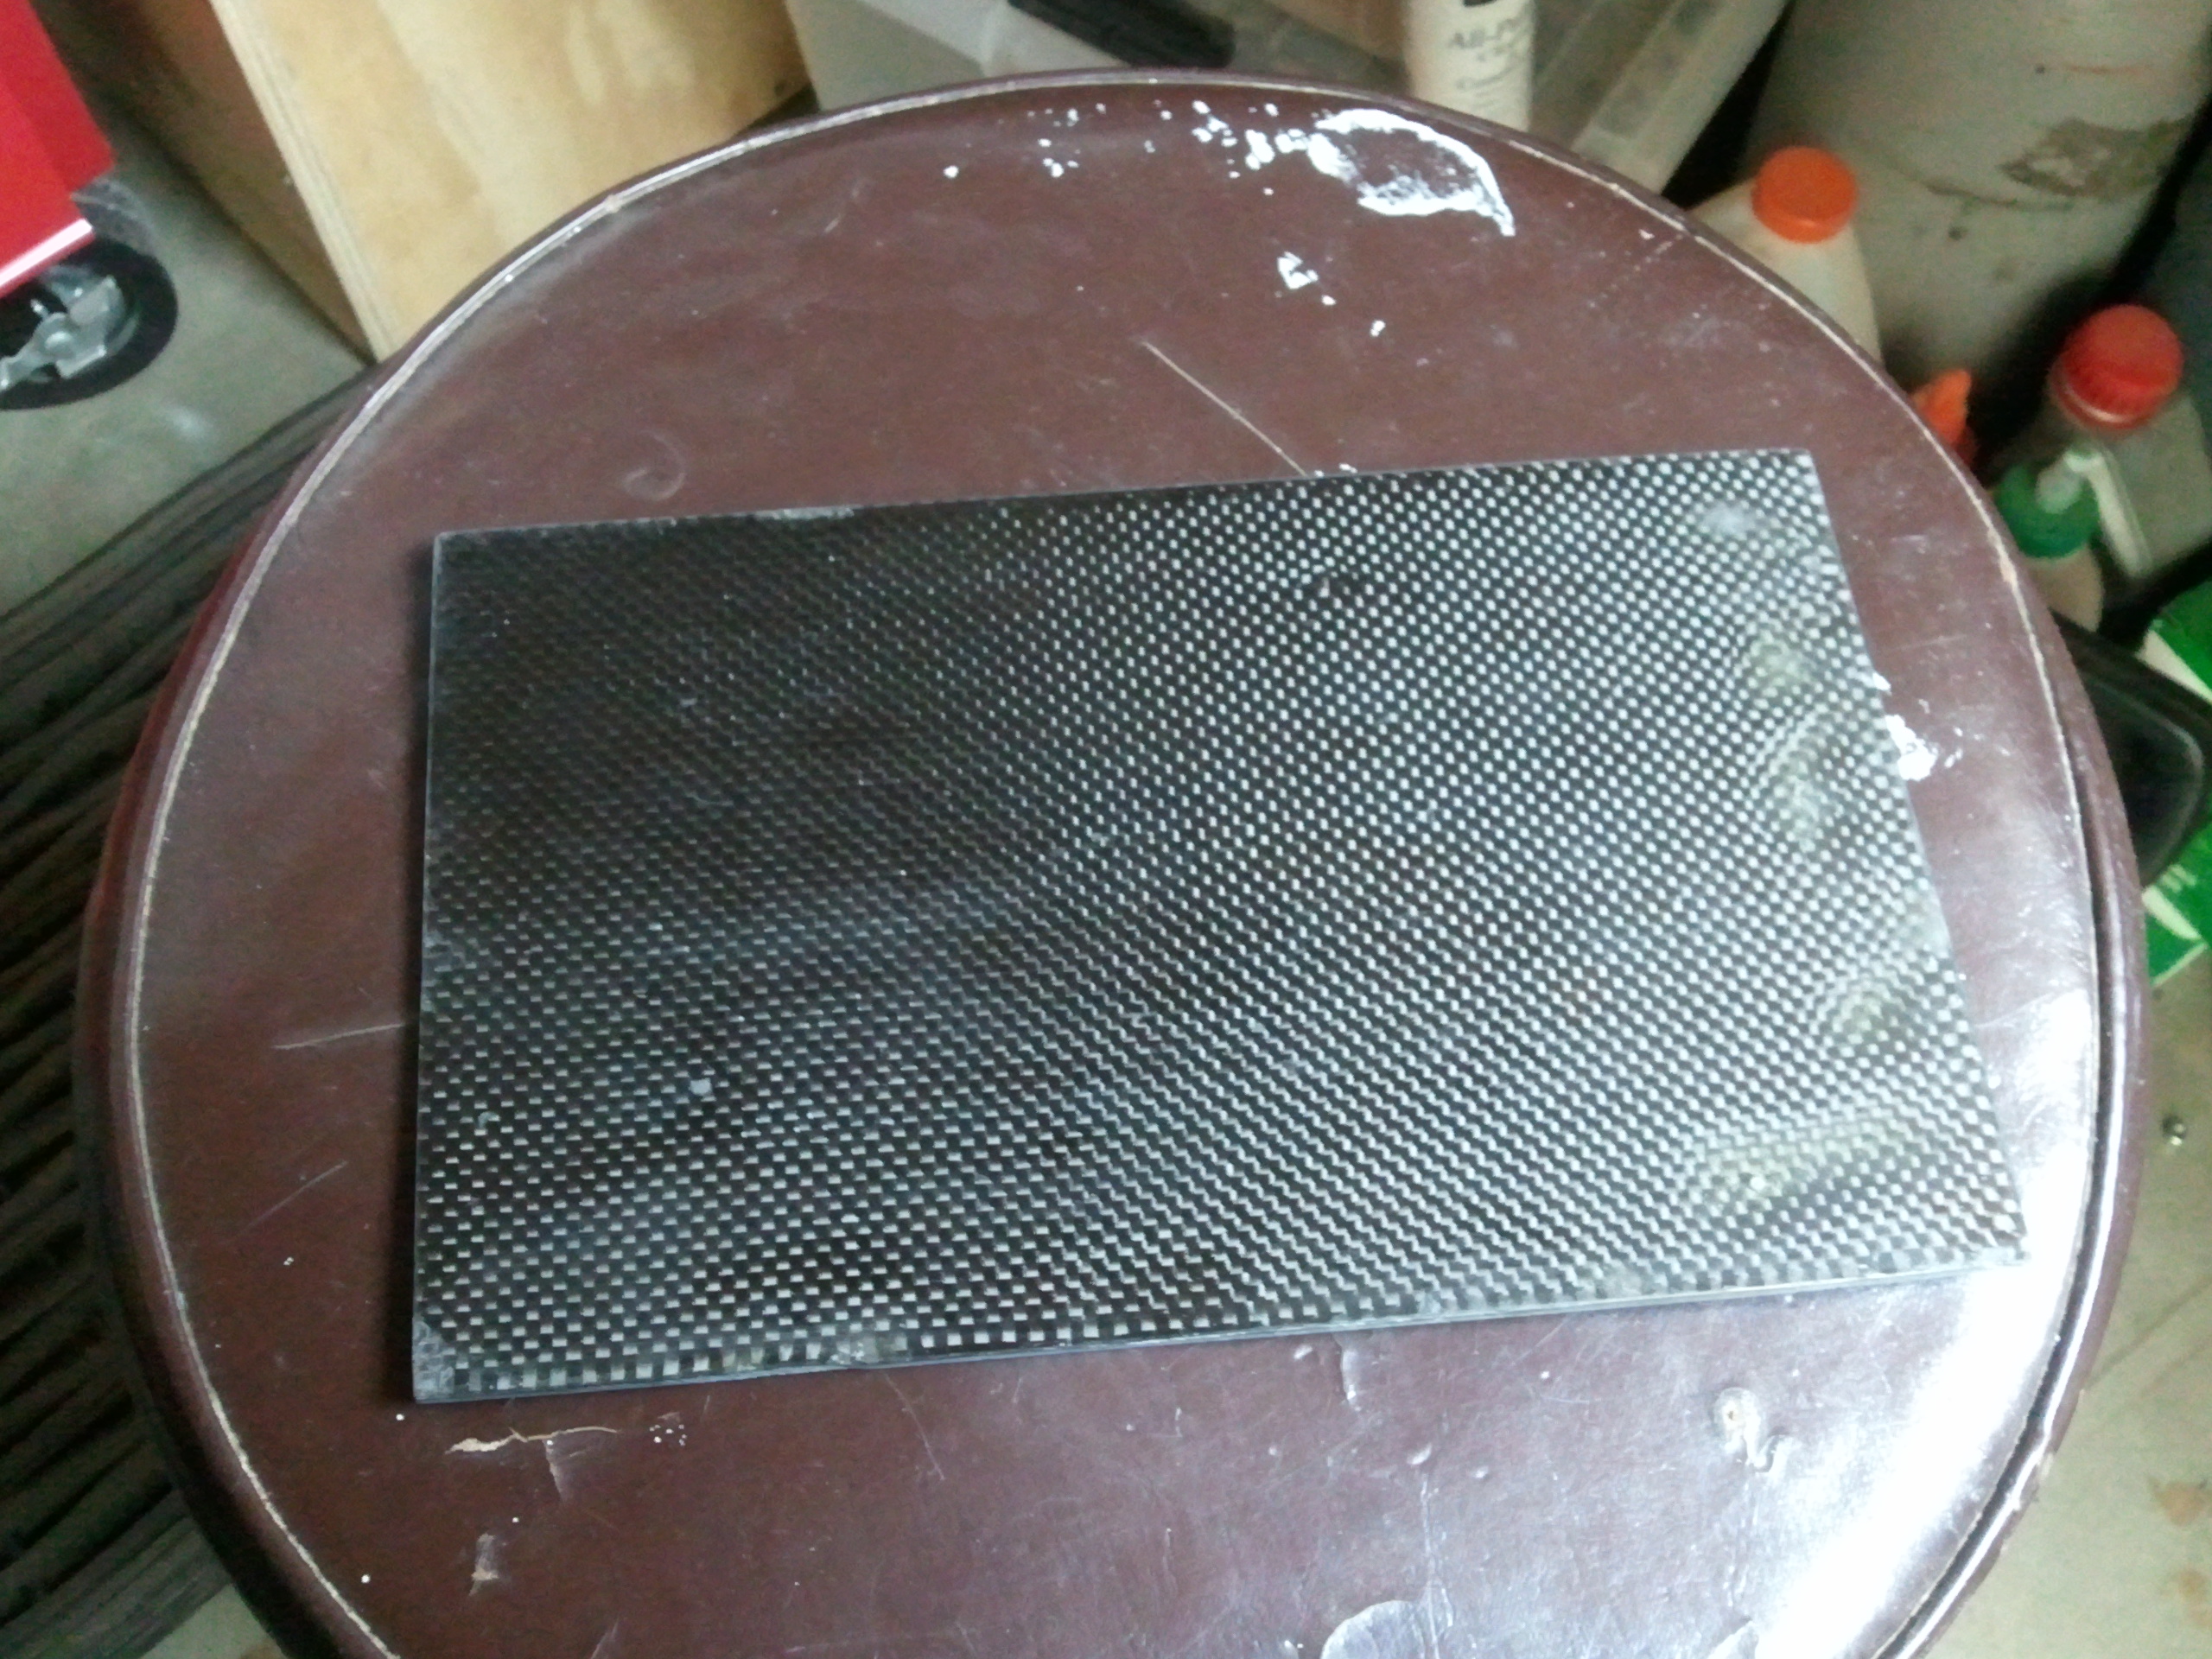
carbon all cleaned up and ready to install. It actually is a carbon sandwich with filler material in between to improve its flex resistance with the side effect of not using too much carbon.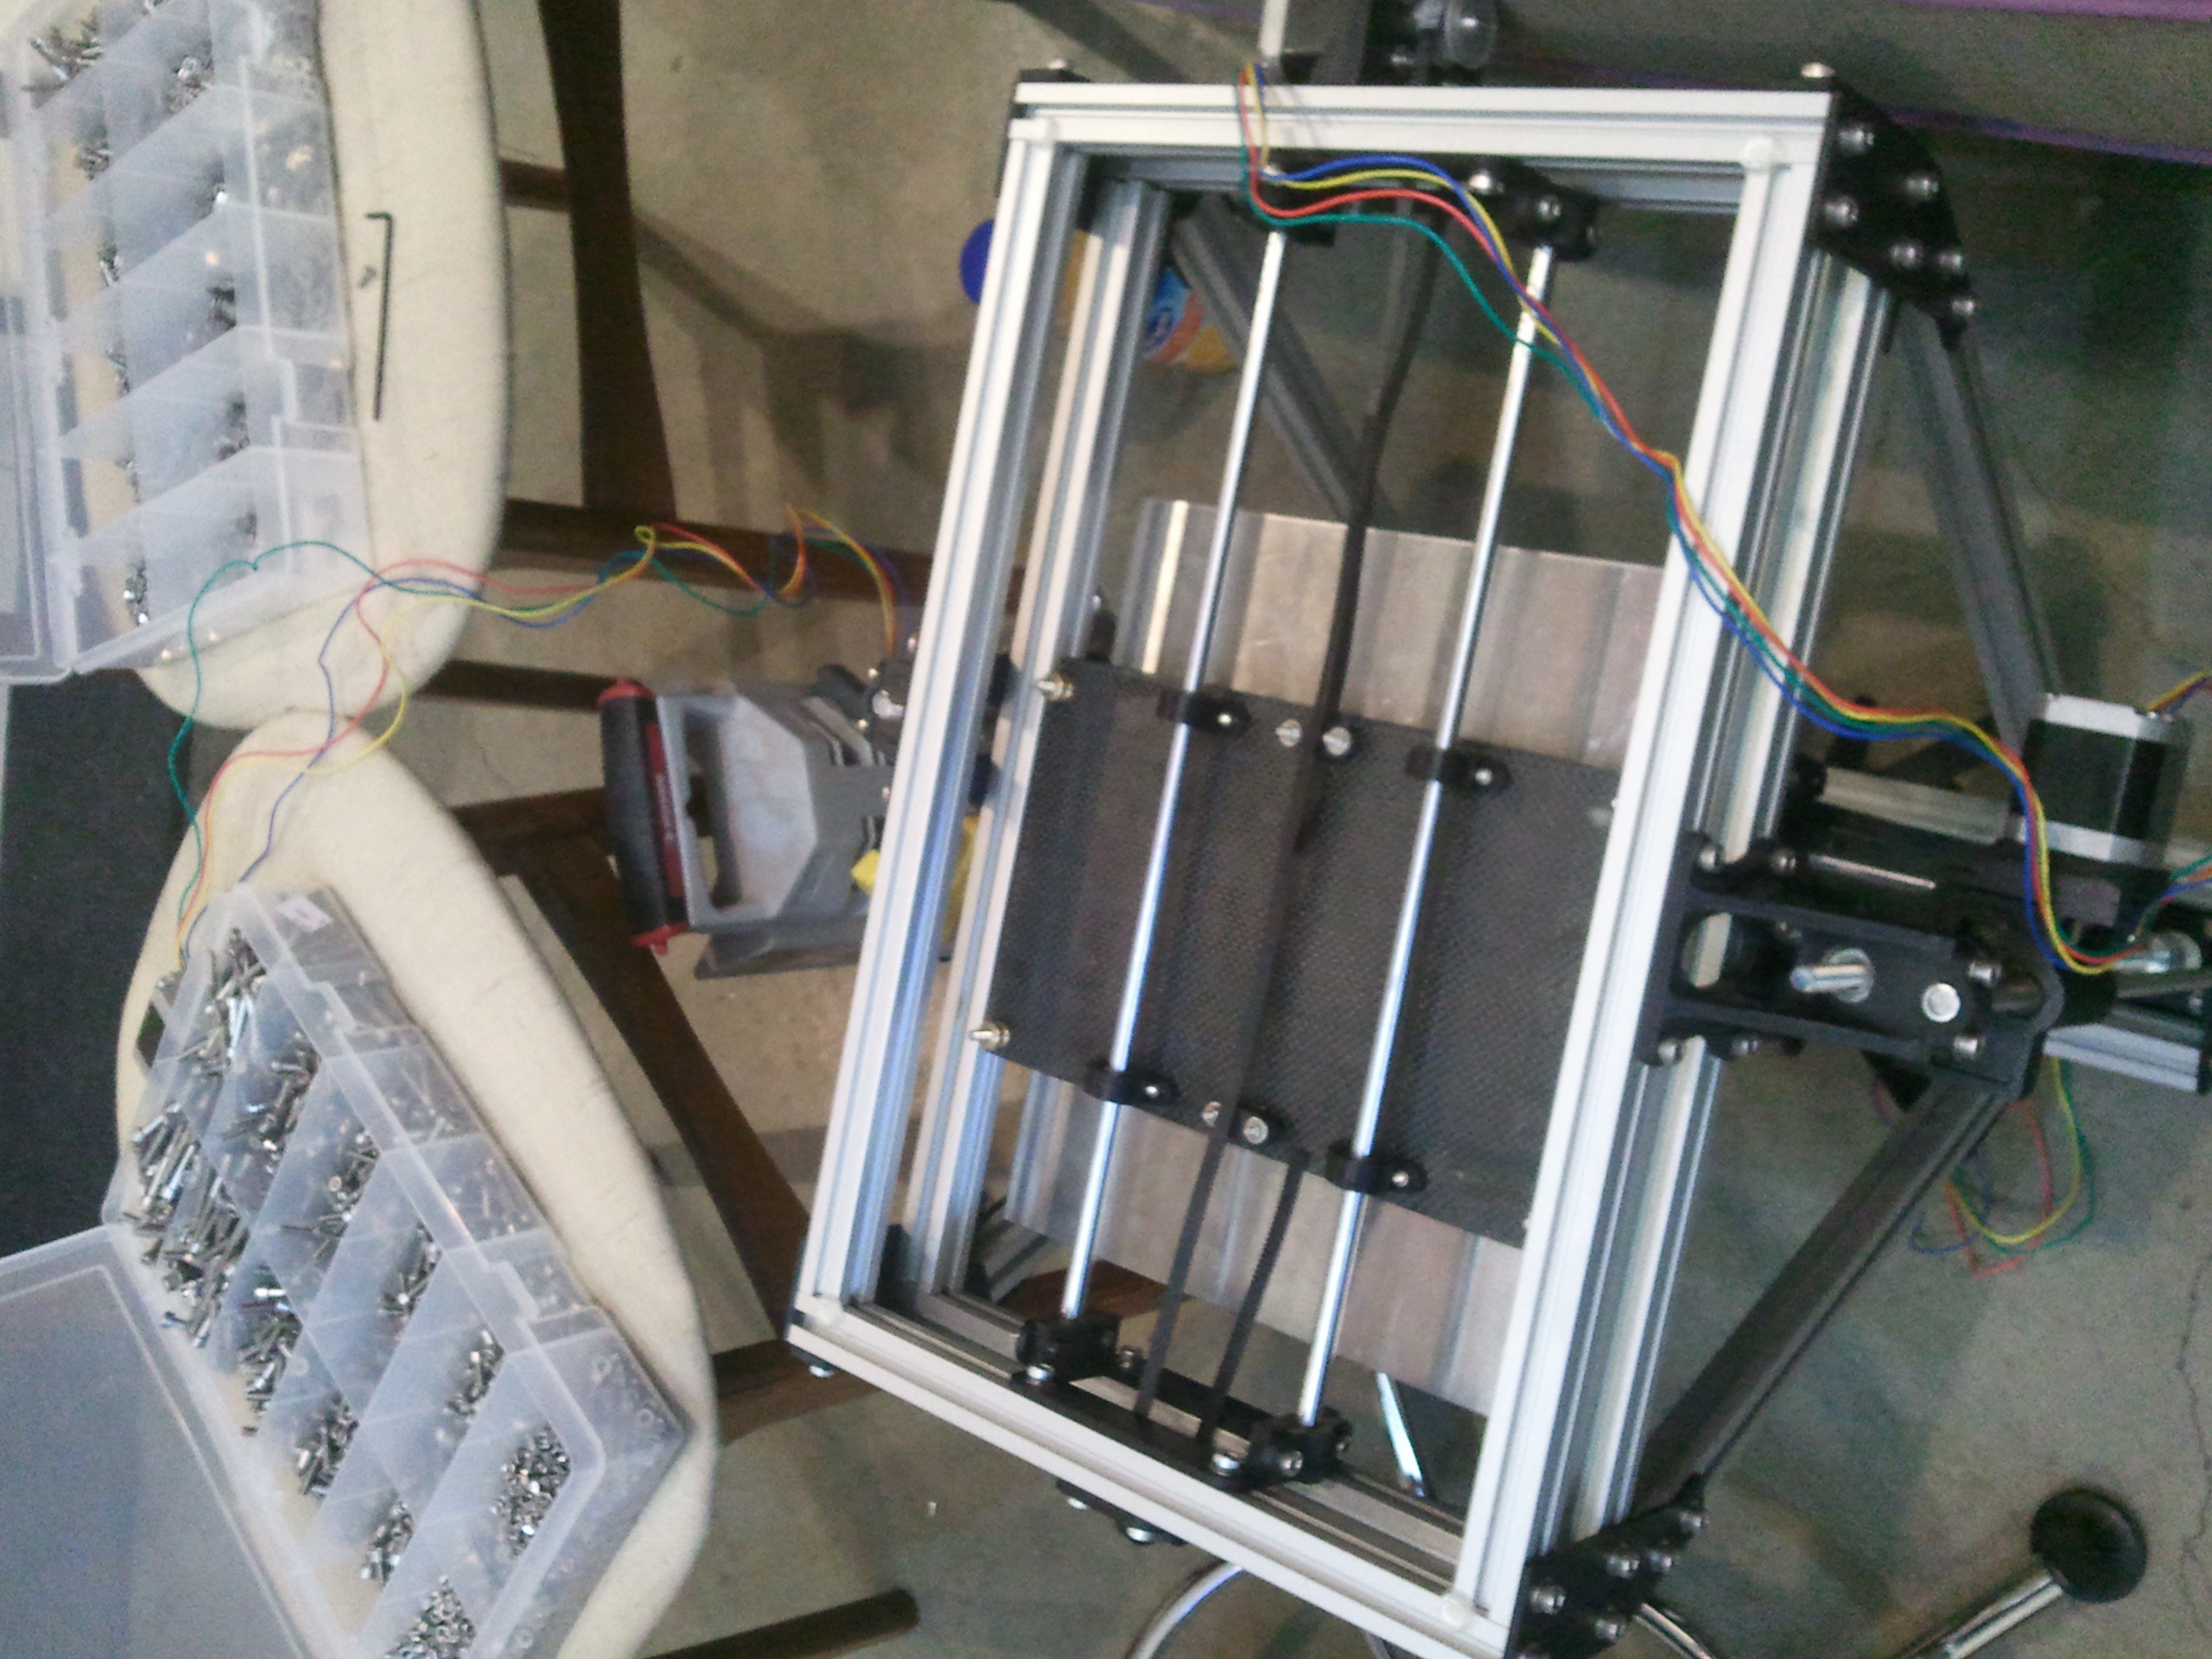
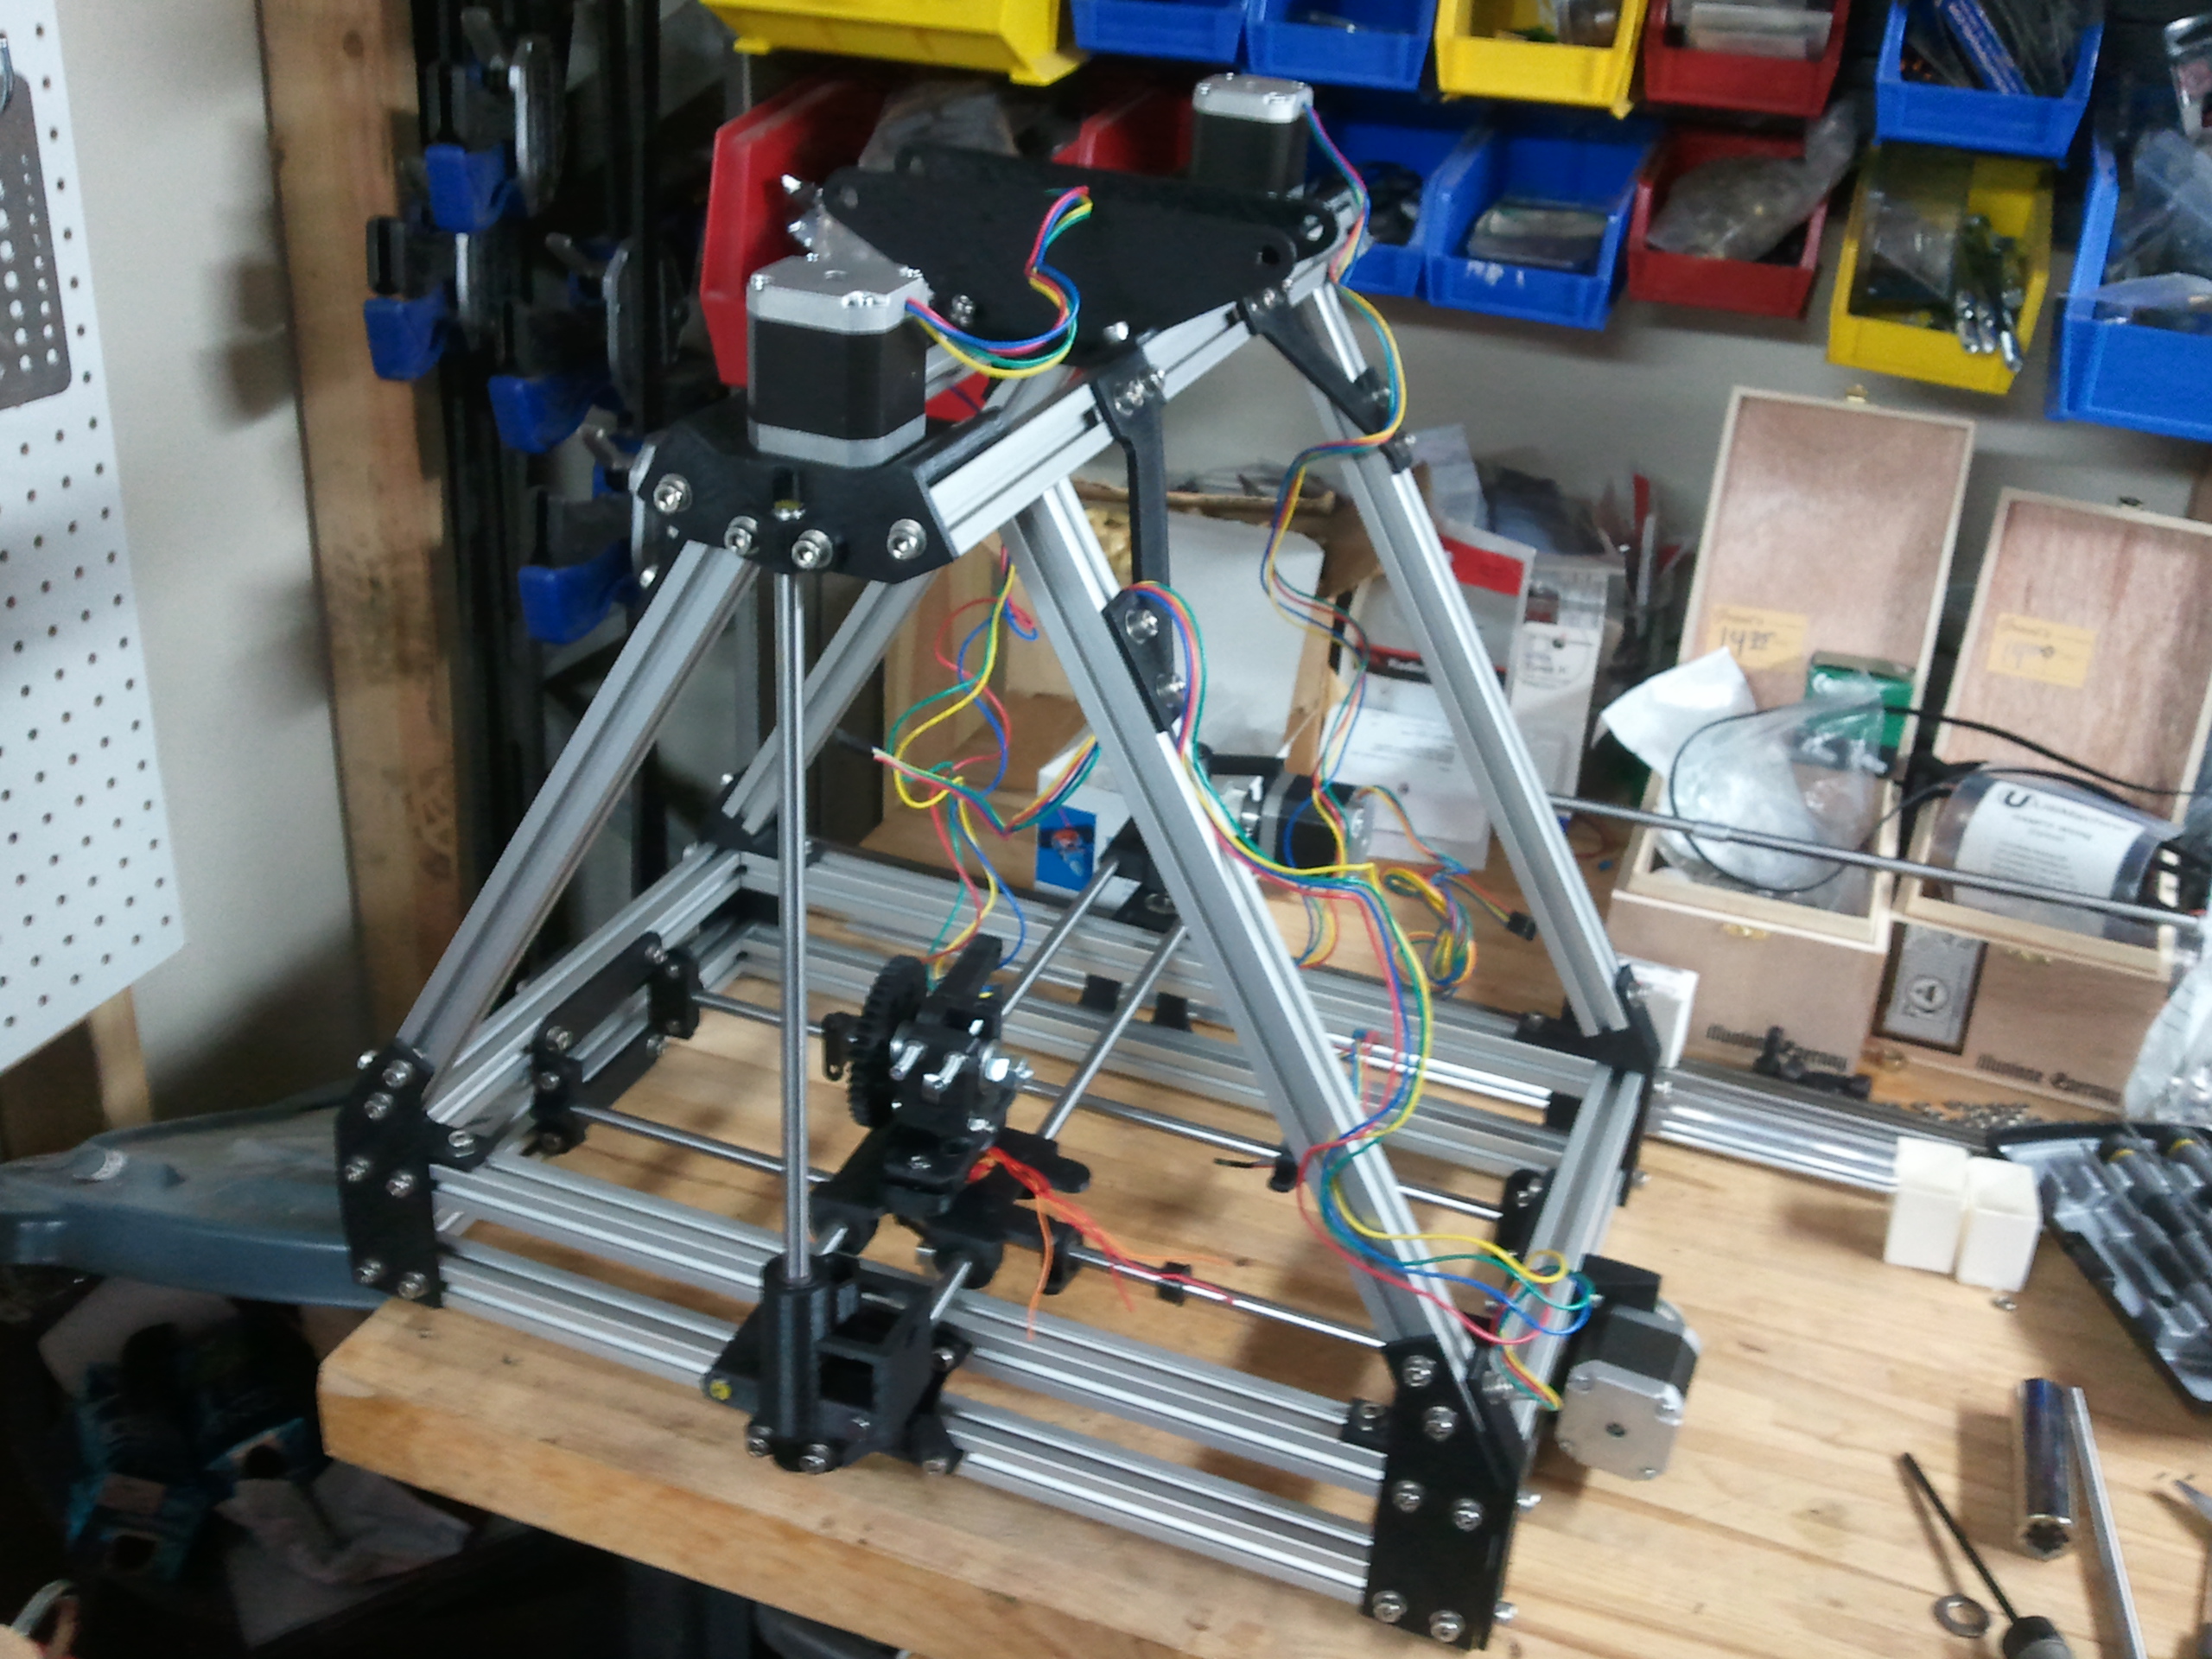
almost all the mechanical elements in place, tramming and trueing everything so it all runs smoothly. also starting to integrate the electronics.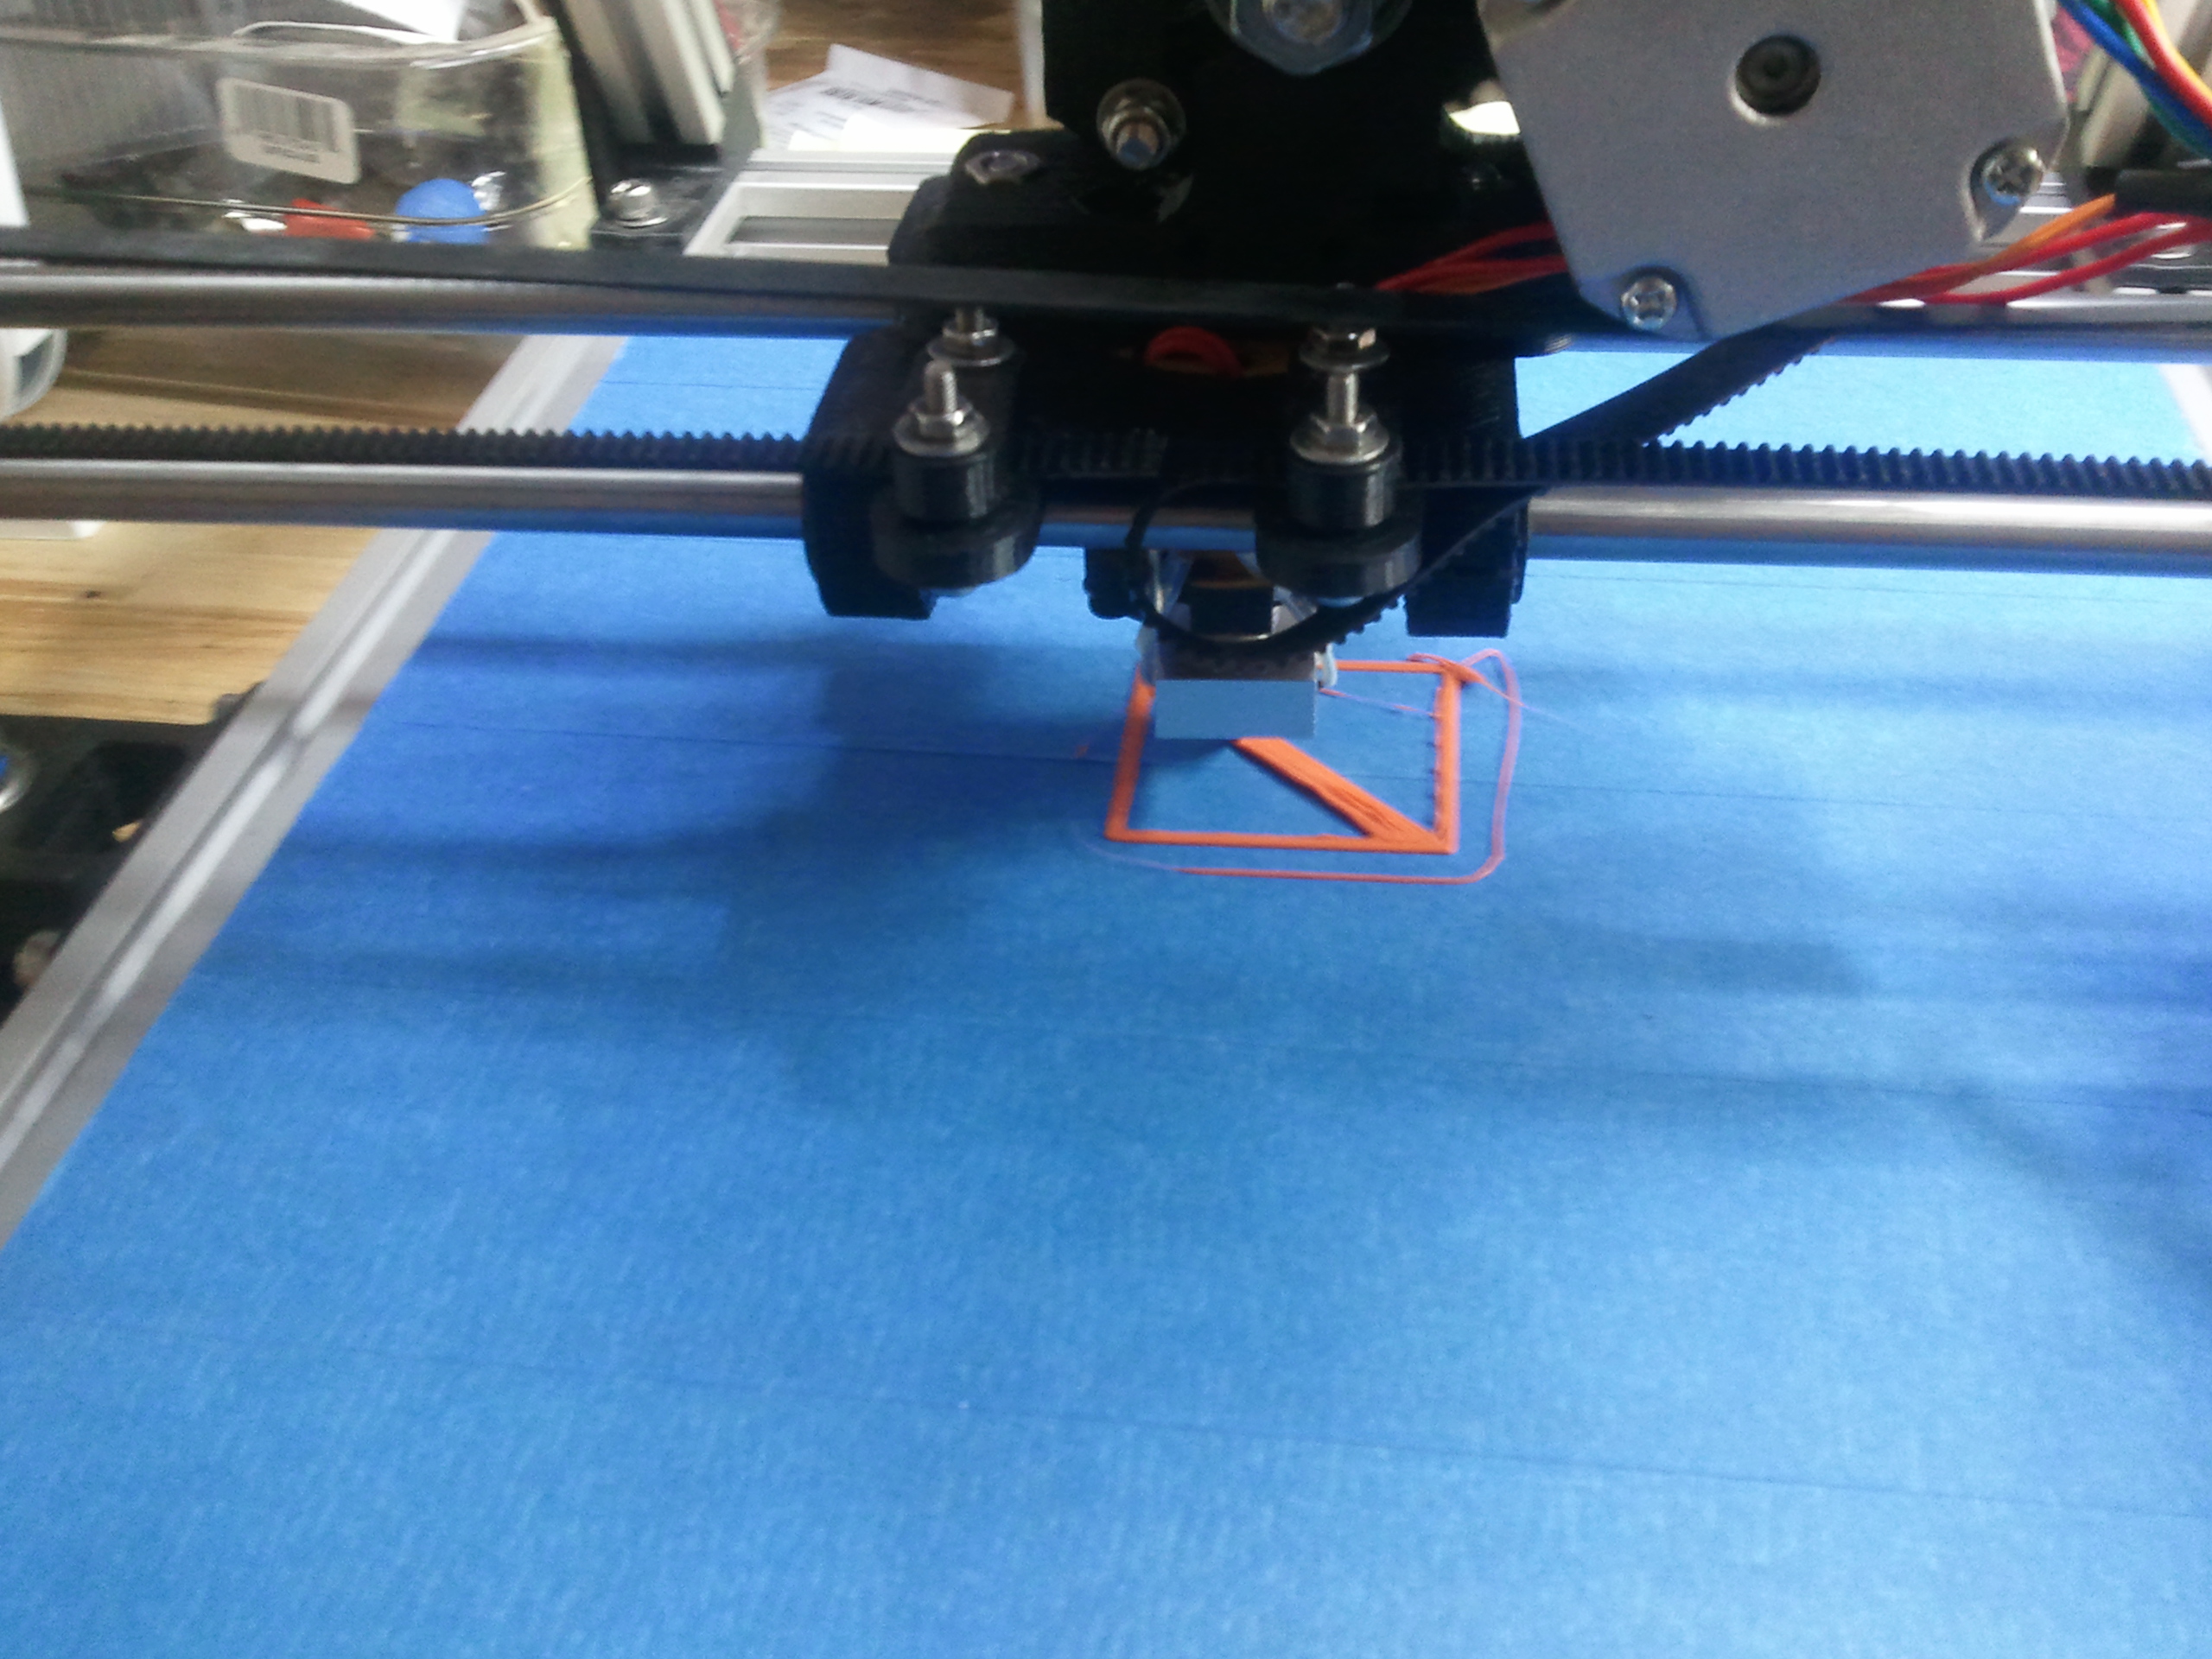
first test print, not quite a success, but not a disaster by any means.
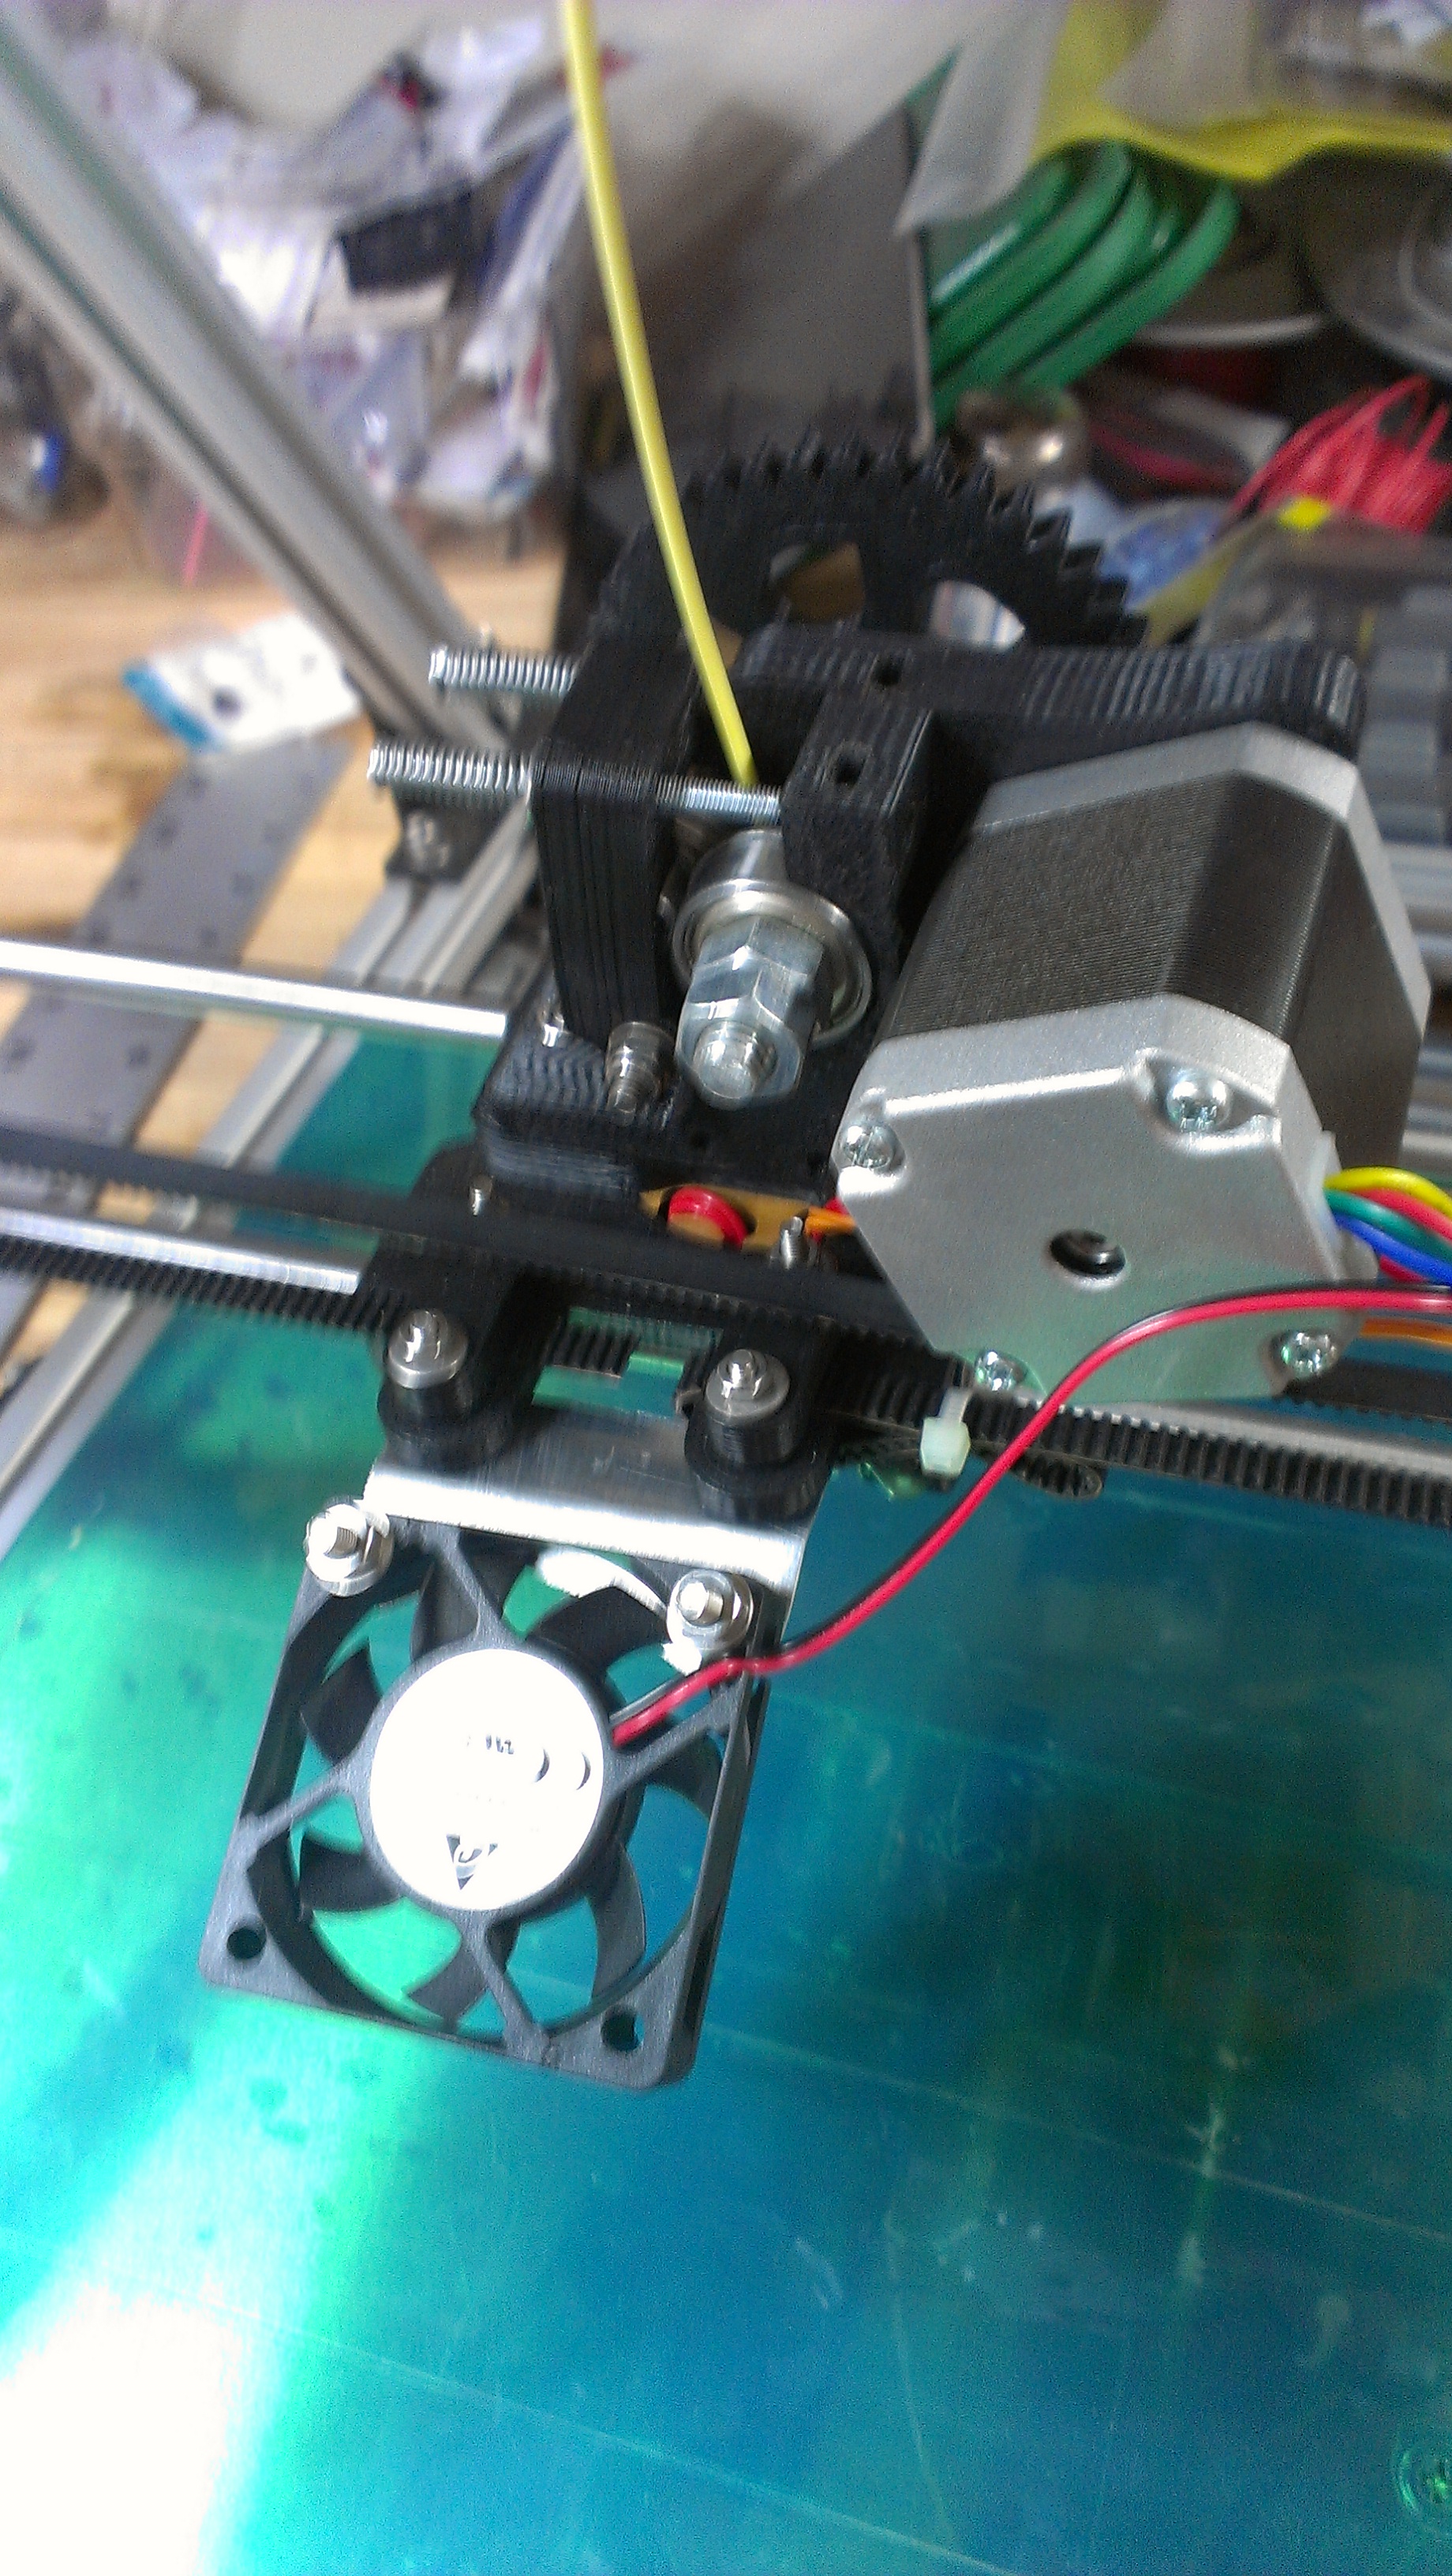
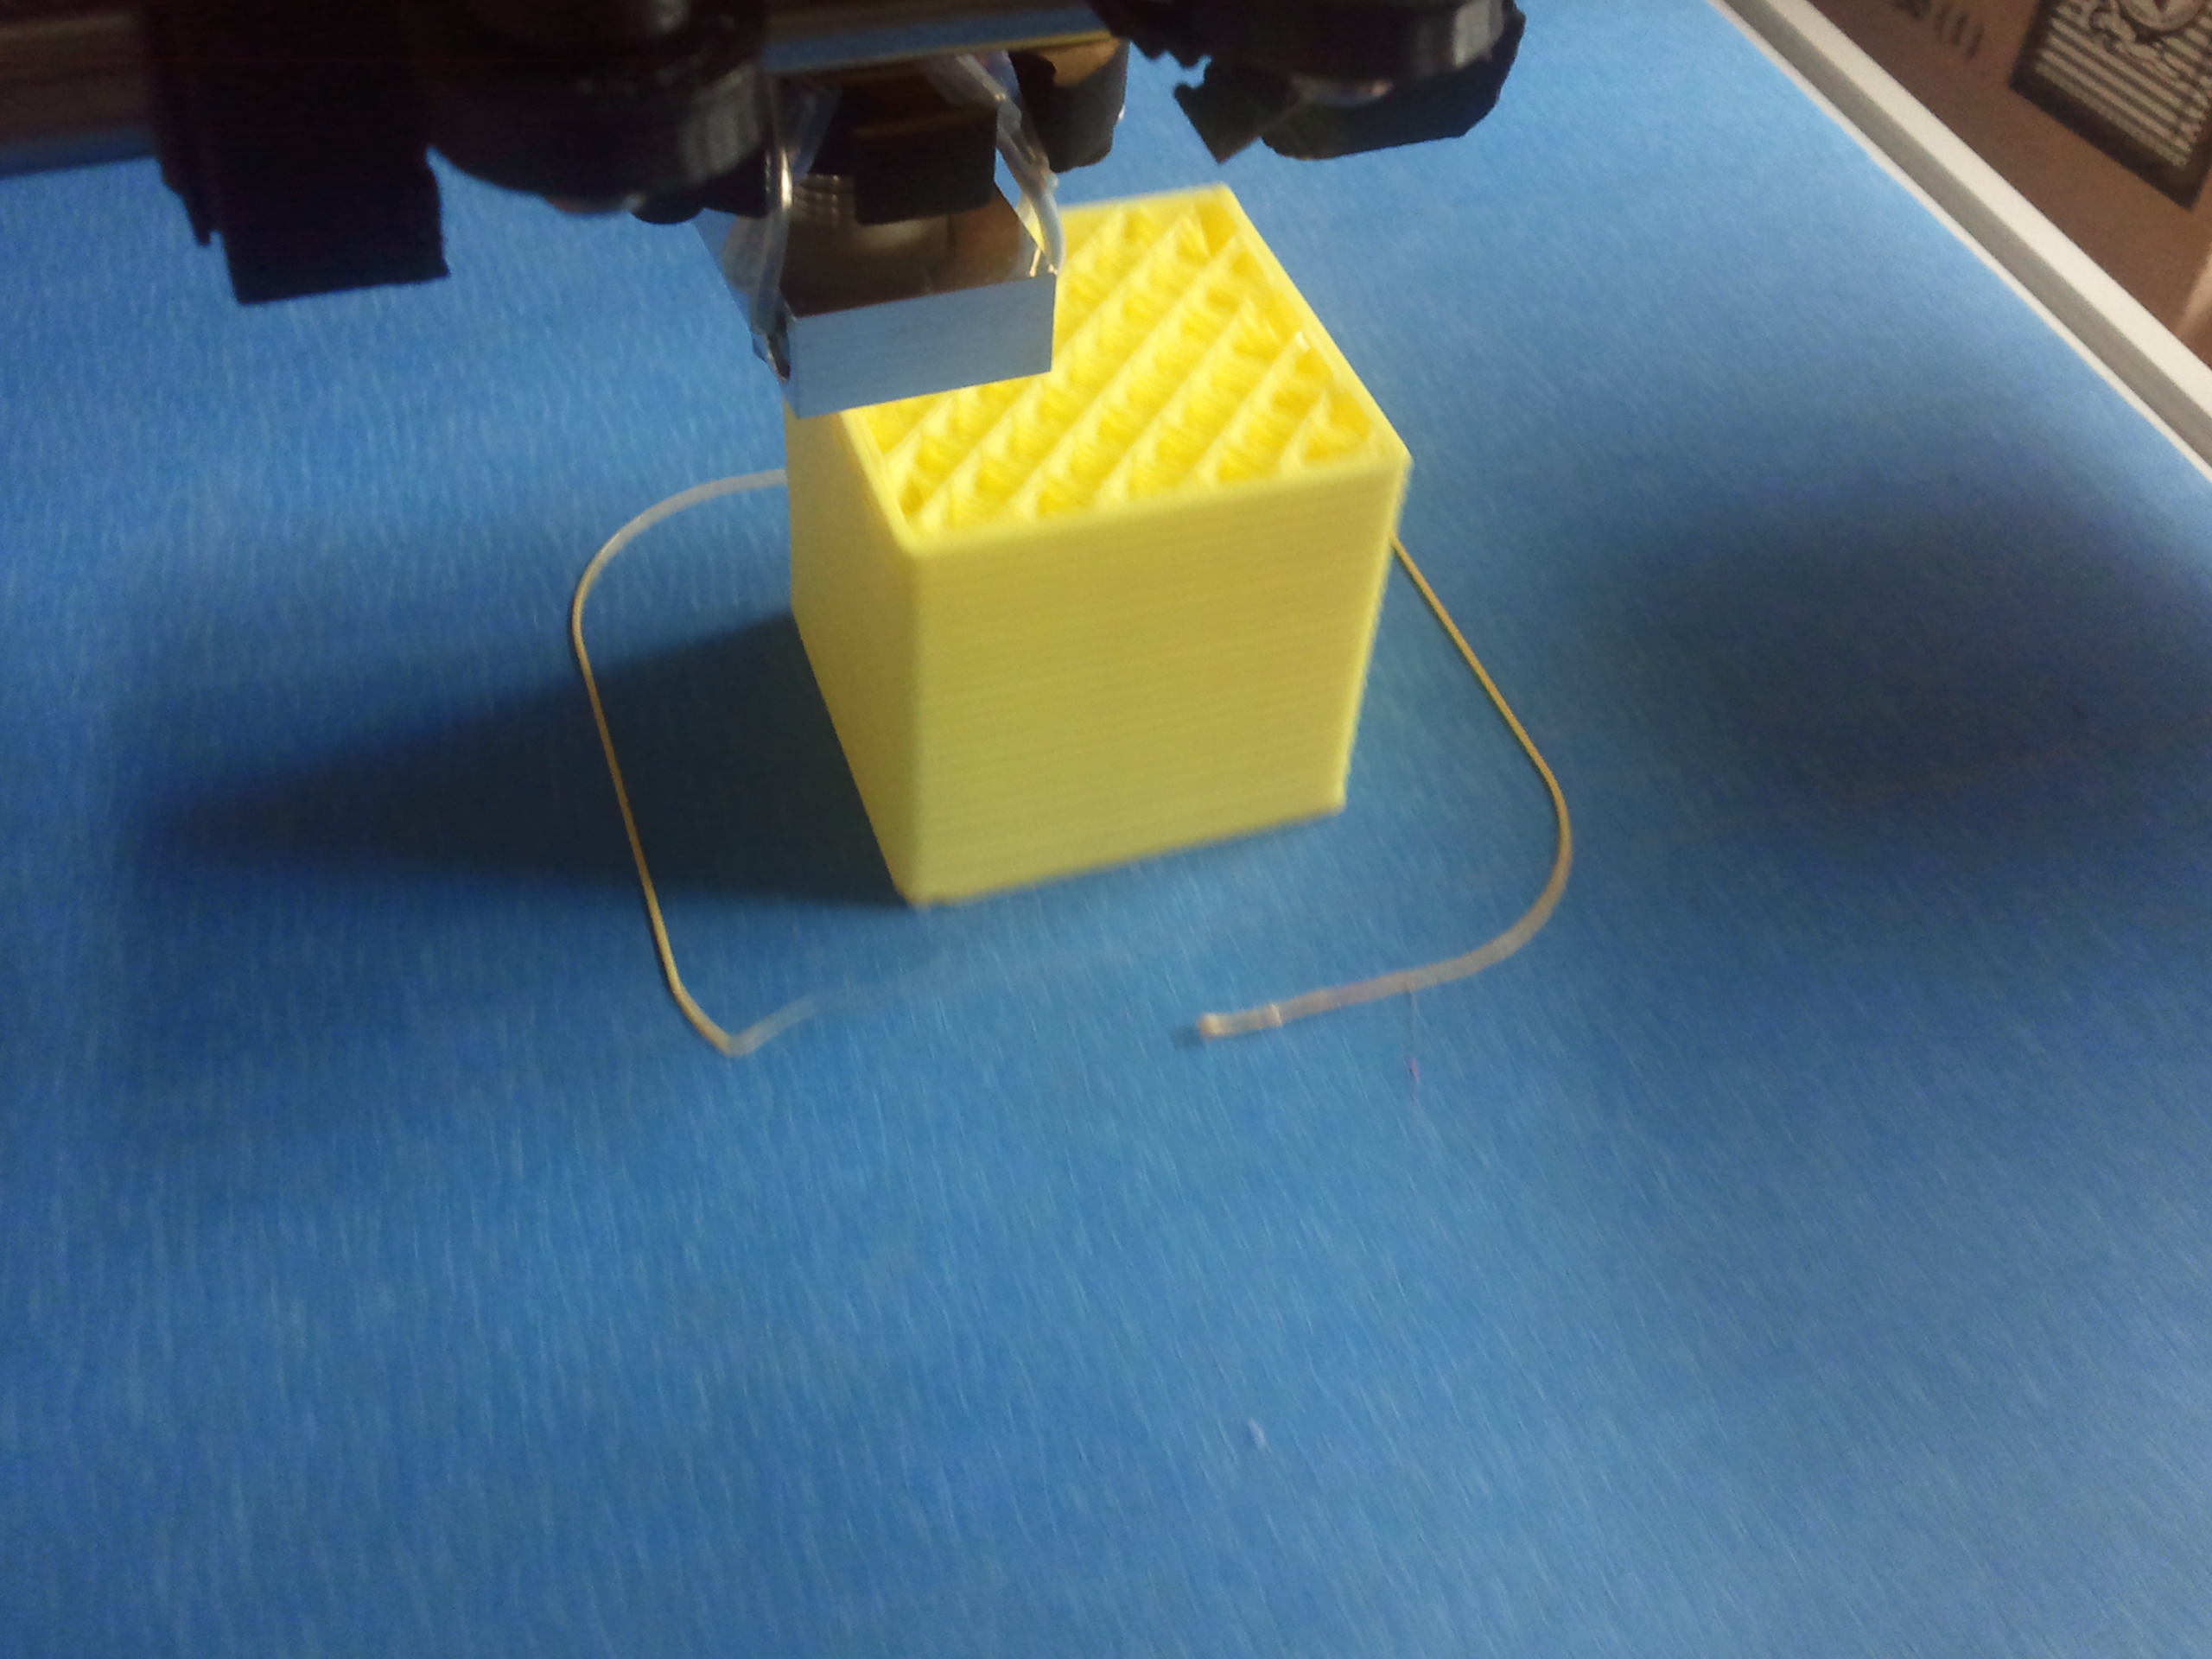
And now printing nice clean test cubes. What a trill to see this all come together!
future work:
- I need to tidy up the electrics, updating to version 2 of the mendlemax naturally improves the cable management by keeping most wires down low.
- i would like it to run as a stand alone print server off a raspberry pi or something, with a nice little oled screen for basic control, its kind of a drag to have to leave an expensive laptop plugged in for the duration of a print job.
- I still have a little tuning / calibration to do as far as temp monitoring is concerned.
Leave a Reply
You must be logged in to post a comment.